 OmniImage
OMNIIMAGE GUIDE
How to Batch Crop Images to the Same Aspect Ratio on Mac
Crop images with different dimensions to a consistent aspect ratio without stretching them.
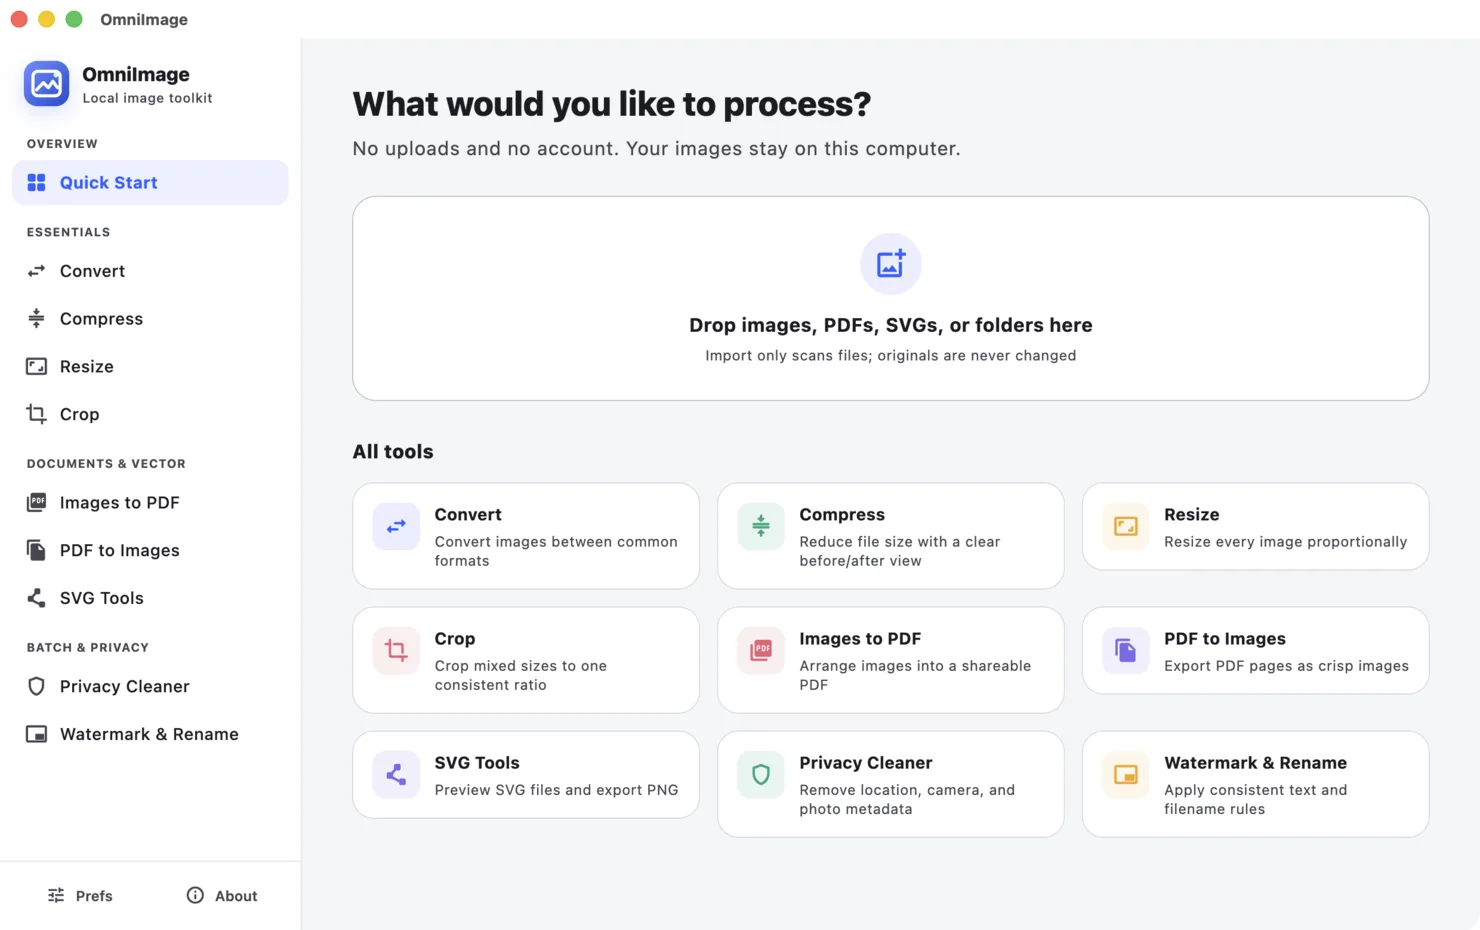
To batch crop images to the same aspect ratio on Mac, open Batch Crop in OmniImage, add the images, choose a target ratio, and review how each file will be framed. The app crops each image independently to reach that ratio instead of stretching the content.
STEP BY STEP
- 1
Add the images
Select all images that need a consistent frame. Different sizes and orientations can be included in the same batch.
- 2
Choose the target ratio
Pick the ratio required by the destination, such as square, portrait, or landscape. A ratio describes shape, not final pixel size.
- 3
Review the framing
Check important subjects near the edges. Because cropping removes content, a useful composition matters more than a purely mathematical center.
- 4
Crop and then resize if needed
Create cropped copies first. If the destination also requires exact pixel dimensions, process those results with Resize afterward.
Choose the right approach
1:1 square
Common for avatars, catalog tiles, and layouts where every card must align.
Portrait
Useful for profile images and vertical content, but wide scenes may lose more from the sides.
Landscape
Useful for banners and presentations, but tall subjects may need careful framing.
Aspect ratio and pixel dimensions are different
Two images can both be 16:9 while one is 1920×1080 and another is 1280×720. Cropping establishes the shape; resizing establishes the final pixel dimensions.
Never stretch mixed images to fake a common ratio. Cropping preserves geometry, although some edge content must be removed.
Common questions
Will every output have the same pixel size?
Not necessarily. Batch Crop makes the aspect ratio consistent. Use Resize afterward when exact pixel dimensions must also match.
Does cropping overwrite the original?
No. OmniImage produces new output files and keeps the source files unchanged.