
Float Camera guide
How to Show Your Camera While Screen Recording on Mac
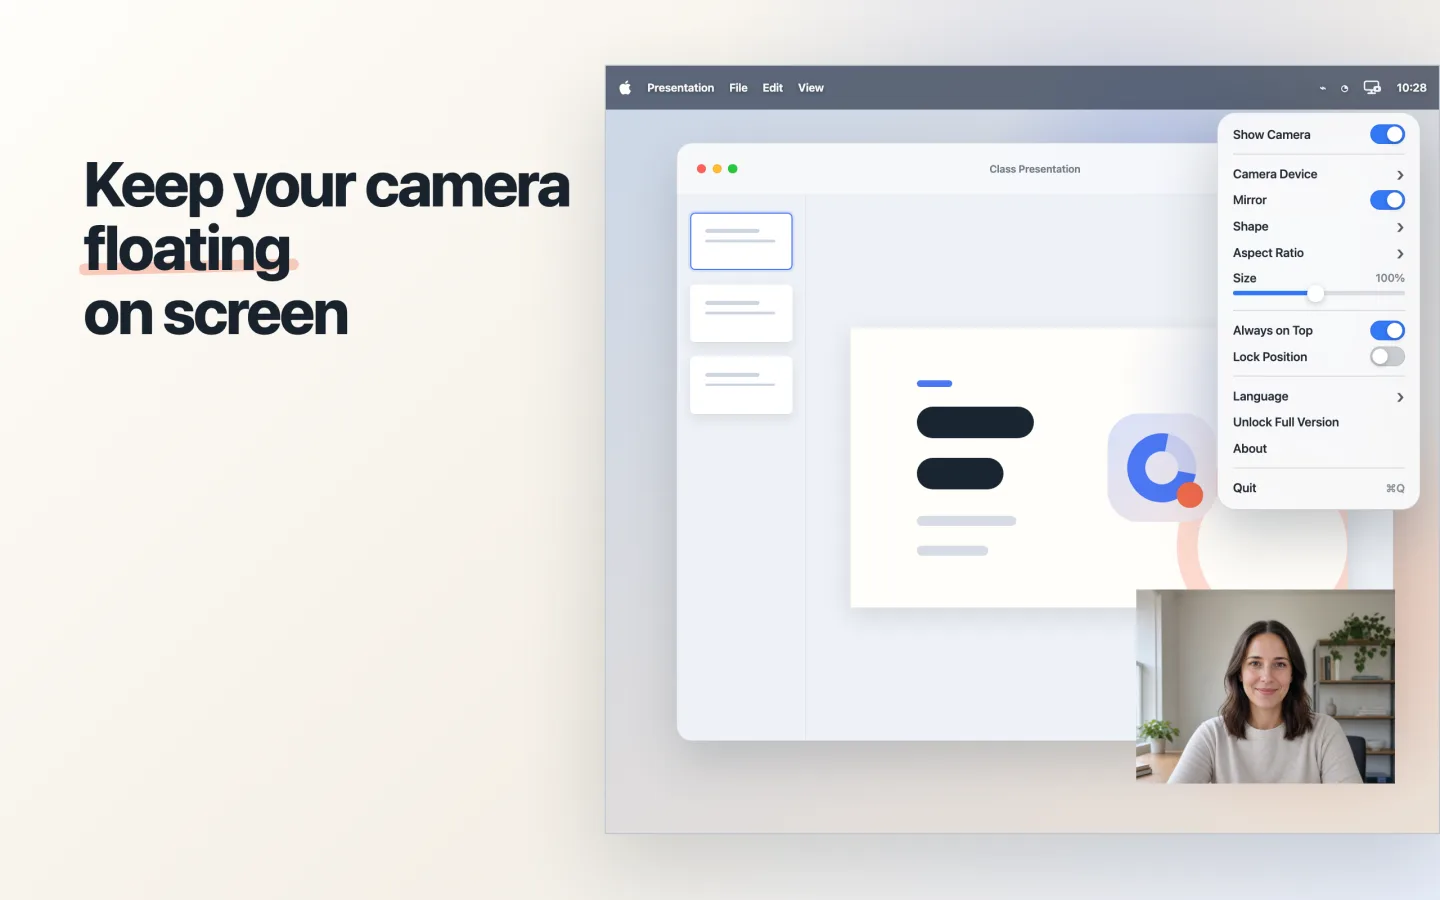
A floating camera keeps your face visible while the recorder captures everything else on screen. Float Camera displays the camera window; your screen-recording app creates the recording.
Quick answer
Open Float Camera, position and resize the camera window, turn on Always on Top, then record the whole screen or a selected area that includes the camera. Recording only one app window may exclude separate floating windows.
Step by step
Open Float Camera
Launch the app from the Applications folder. Its camera window appears without a title bar or border.
Arrange the camera window
Open the menu bar menu, choose the shape and aspect ratio, set the size, and drag the camera to a clear corner of the area you will record.
Turn on Always on Top
Keep Always on Top enabled so the camera remains visible above slides, browsers, notes, and other normal windows.
Choose the right recording area
In your recorder, capture the entire screen or select an area that contains both your content and the floating camera. A single-window recording usually captures only that app window.
Make a short test
Record a few seconds and verify the camera position, microphone source, and captured area before starting the full session.
Good to know
Float Camera does not record
It only displays the live camera image. Use the macOS Screenshot toolbar, OBS, or another recording tool to create the video.
Leave space for important content
Place the camera away from subtitles, slide controls, browser toolbars, and information that changes during the recording.
Common questions
Why is the camera missing from my recording?
Make sure the selected recording area includes the floating camera. If you recorded one app window, switch to full-screen or selected-area capture.
Does Float Camera capture microphone audio?
No. Choose and configure the microphone in the screen-recording application you use.